Installing flooring into your home screams spending lots of money. But there are ways to make your floors pretty, durable, and affordable. One of which is plywood flooring which has started its rise in popularity over the years.
Can Plywood Be Used as Flooring?
You can use plywood flooring in your new home (or when renovating one). This is a cheaper option, and you don’t have to worry about its durability because it will last a long time if you install it correctly.
However, you need to factor in the weather conditions where you live. The plywood flooring may shrink or expand if you experience temperature changes and windy days all year. This is unsafe, especially in a house with children and the elderly.
What Plywood Is Good for Floors?
You need to learn different kinds of plywood before picking what’s suitable for floors: interior, exterior, and structural. You can use interior plywood for bedrooms, exterior plywood for bathrooms and kitchens, and structural plywood for living rooms.
However, you must remember that what makes good flooring is not just what’s on top but also what’s underneath. Before installing plywood flooring, you need to have a solid foundation underneath and underlayment for support.
Benefits of Plywood Flooring
There are various benefits of choosing this flooring over the more expensive ones. First, it’s a very versatile material, especially when installing floors in small spaces like the bedroom. The different layers work together to stay as durable as possible.
And the most obvious benefit is saving money on materials and labor. But when you do the installation yourself, you need to be careful and not get into any accidents. Having a companion in the process will help.
The overall aesthetic of plywood floors matches a rustic and boho interior design. It means you can easily complement the vibe of the floor with wood furniture. This looks better than colorful tiles that contrast with many neutral-colored house decors.
DIY Plywood Flooring
When doing this installation by yourself, you need to remember to make sure that you have the safety gear and the right tools. You can ask for assistance from friends and family who are also capable of carpentry work.
Things You Need
- 1.27 centimeters of plywood (interior, exterior, or structural depending on the room)
- 3.175 centimeters of Spax screws
- Pole Sander
- Satin Wood Floor Finish
- Floor Sealer
- Underlayment Foam
- Carpentry Tools
- Sealant Applicators
- T-Bar Applicator Refill
- Floor Coater
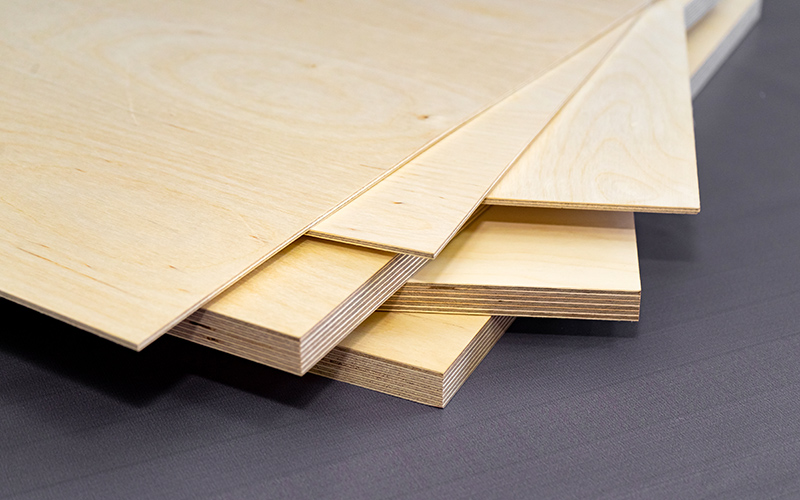
Step 1: Select Your Plywood
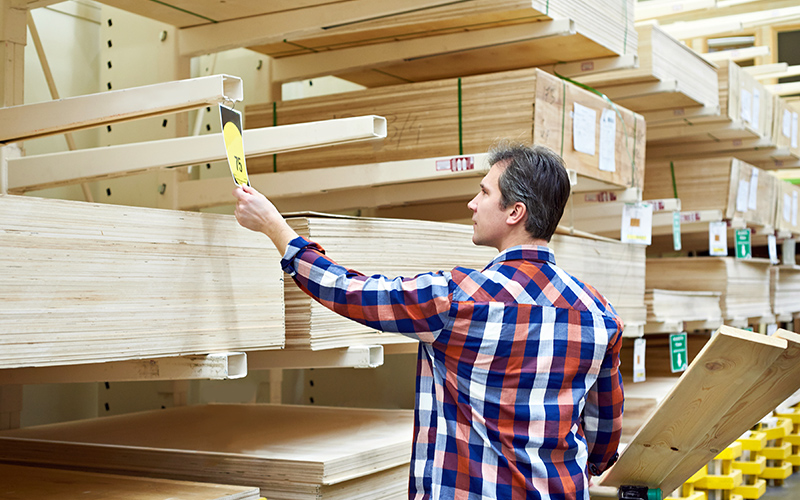
Choose the kind of plywood you want to install as your new floor. You can pick the thickness between 3/4 inch or 5/8 inch. If you like to feel more elevated, you can choose the latter but ensure that the underlayment will not make the flooring bouncy.
Then, go to a hardware store (or you can do it yourself) and ask them to cut the plywood into 4 x 8 feet wood strips. It will make an illusion and hide that you’re not using any hardwood flooring.
Step 2: Find a Matching Underlayment
After installing the subfloor, you need to choose an underlayment to make the room less echoey. It will also ensure that the sounds coming from the second floor will be dampened (in case you’re installing floors on the 2nd floor).
Spread the underlayment properly so there will be no creases that might alter the level of your flooring. It’s relatively easy to do this step because you don’t need to use any equipment.
Step 3: Make a Layout
Bring out the 4×8 inches of plywood strips and lay them on the floor. You can try various methods like the H-Pattern or the Staircase layout. It means that for the first few plywood strips, you will not cut them and try to fit them into the whole area.
Step 4: Start Cutting the Plywood
When the first few strips are set in, you can start measuring the remaining ones and cut them based on what’s missing on the puzzle-like floor. You can use a circular saw which you can buy together in a set with other power tools.
Be careful when cutting the plywood not to cut yourself. Use protective gear like gloves and goggles. Regarding the ones installed near the walls, you can leave space to give way for the possible contraction of the flooring.
Step 5: Drill the Boards
You can start drilling T-star self-drilling screws in each cut’s corners. Avoid the bottom-most part of the plywood strips to prevent breakage from the pressure. You need to pick the correct length of the screws and not drill past the subfloor.
Step 6: Seal the Plywood Floors
First, use a sanding sealer and follow the instructions at the back of the packaging. You can then use a pole sander to help remove the rough surfaces and achieve that smooth finish. Lastly, use a residential-type floor sealer and use the tools that come with it.
Step 7: Fill Crevices With Wood Shavings
Together with a grout-like product, you can fill the crevices of the plywood flooring with wood shavings so as not to collect dust under it. It will also complete the whole rustic aesthetic that your new flooring gives.
The only bad thing about this is its monotonous wood tones. You can’t get the variations that hardwood floorings can bring. But overall, the outcome will be excellent and worth every penny.
Frequently Asked Questions
How Thick Should Plywood Be for Flooring?
When choosing plywood as your flooring, you can pick 1/2 inch of thickness for sheds and at least 3/4 inch for rooms. You need to choose the thicker ones for second-floor areas to dampen sounds together with the underlayment.
Plywood flooring is only an alternative to the more expensive choices like tiles, hardwood floors, etc. Hence, you need to choose the correct thickness, or you will encounter future floor dilemmas.
What Kind of Plywood Is Waterproof?
ACX and marine-grade plywood are best used for water-proof floorings. Manufacturers make them with phenolic glue to ensure that they will resist water and moisture. But, you need to use water-resistant floor sealant to increase its durability.
How Long Does a Plywood Floor Last?
View this post on Instagram
When you do plywood flooring installation correctly, it will last for 20 years. Many factors, such as temperature changes, weather, and foot traffic, will contribute to this. Adding all these, you can expect a high-grade one to last more than five years.
Consider using solid subfloors and thick underlayment to lengthen the lifespan of your plywood floor. Ask professionals at the hardware store for the best yet affordable kind you can use in your home.
Do You Want to Install a Plywood Flooring?
Installing floors on a new home or when renovating one is costly. You must purchase expensive materials and hire contracts to do your work. But you have the choice to do it yourself, and you need persistence to finish what you started.
If you want to save money on floors but still want quality and durability, you can use plywood. Many people do this, and they seem not to have any problems. However, choosing a suitable material will add to how durable your flooring will be.